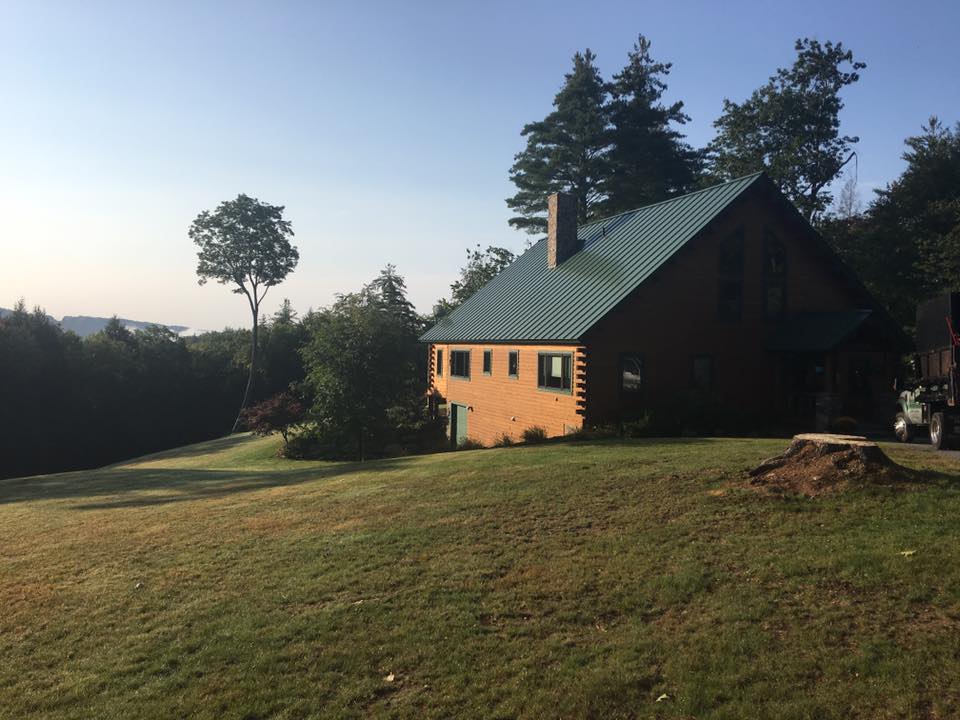
A tree growing too close to your home can be anything from a long-term maintenance concern to a serious safety risk. In New Hampshire, heavy snow, ice storms, saturated soil, and strong winds put extra stress on trees, especially those near structures.
If you’re wondering what to do if a tree is too close to your house in NH, this guide will help you understand safe distances, identify warning signs, and decide when trimming is enough, or if you need professional tree removal services.
How Close Should Trees Be to a House in NH? Practical Guidance
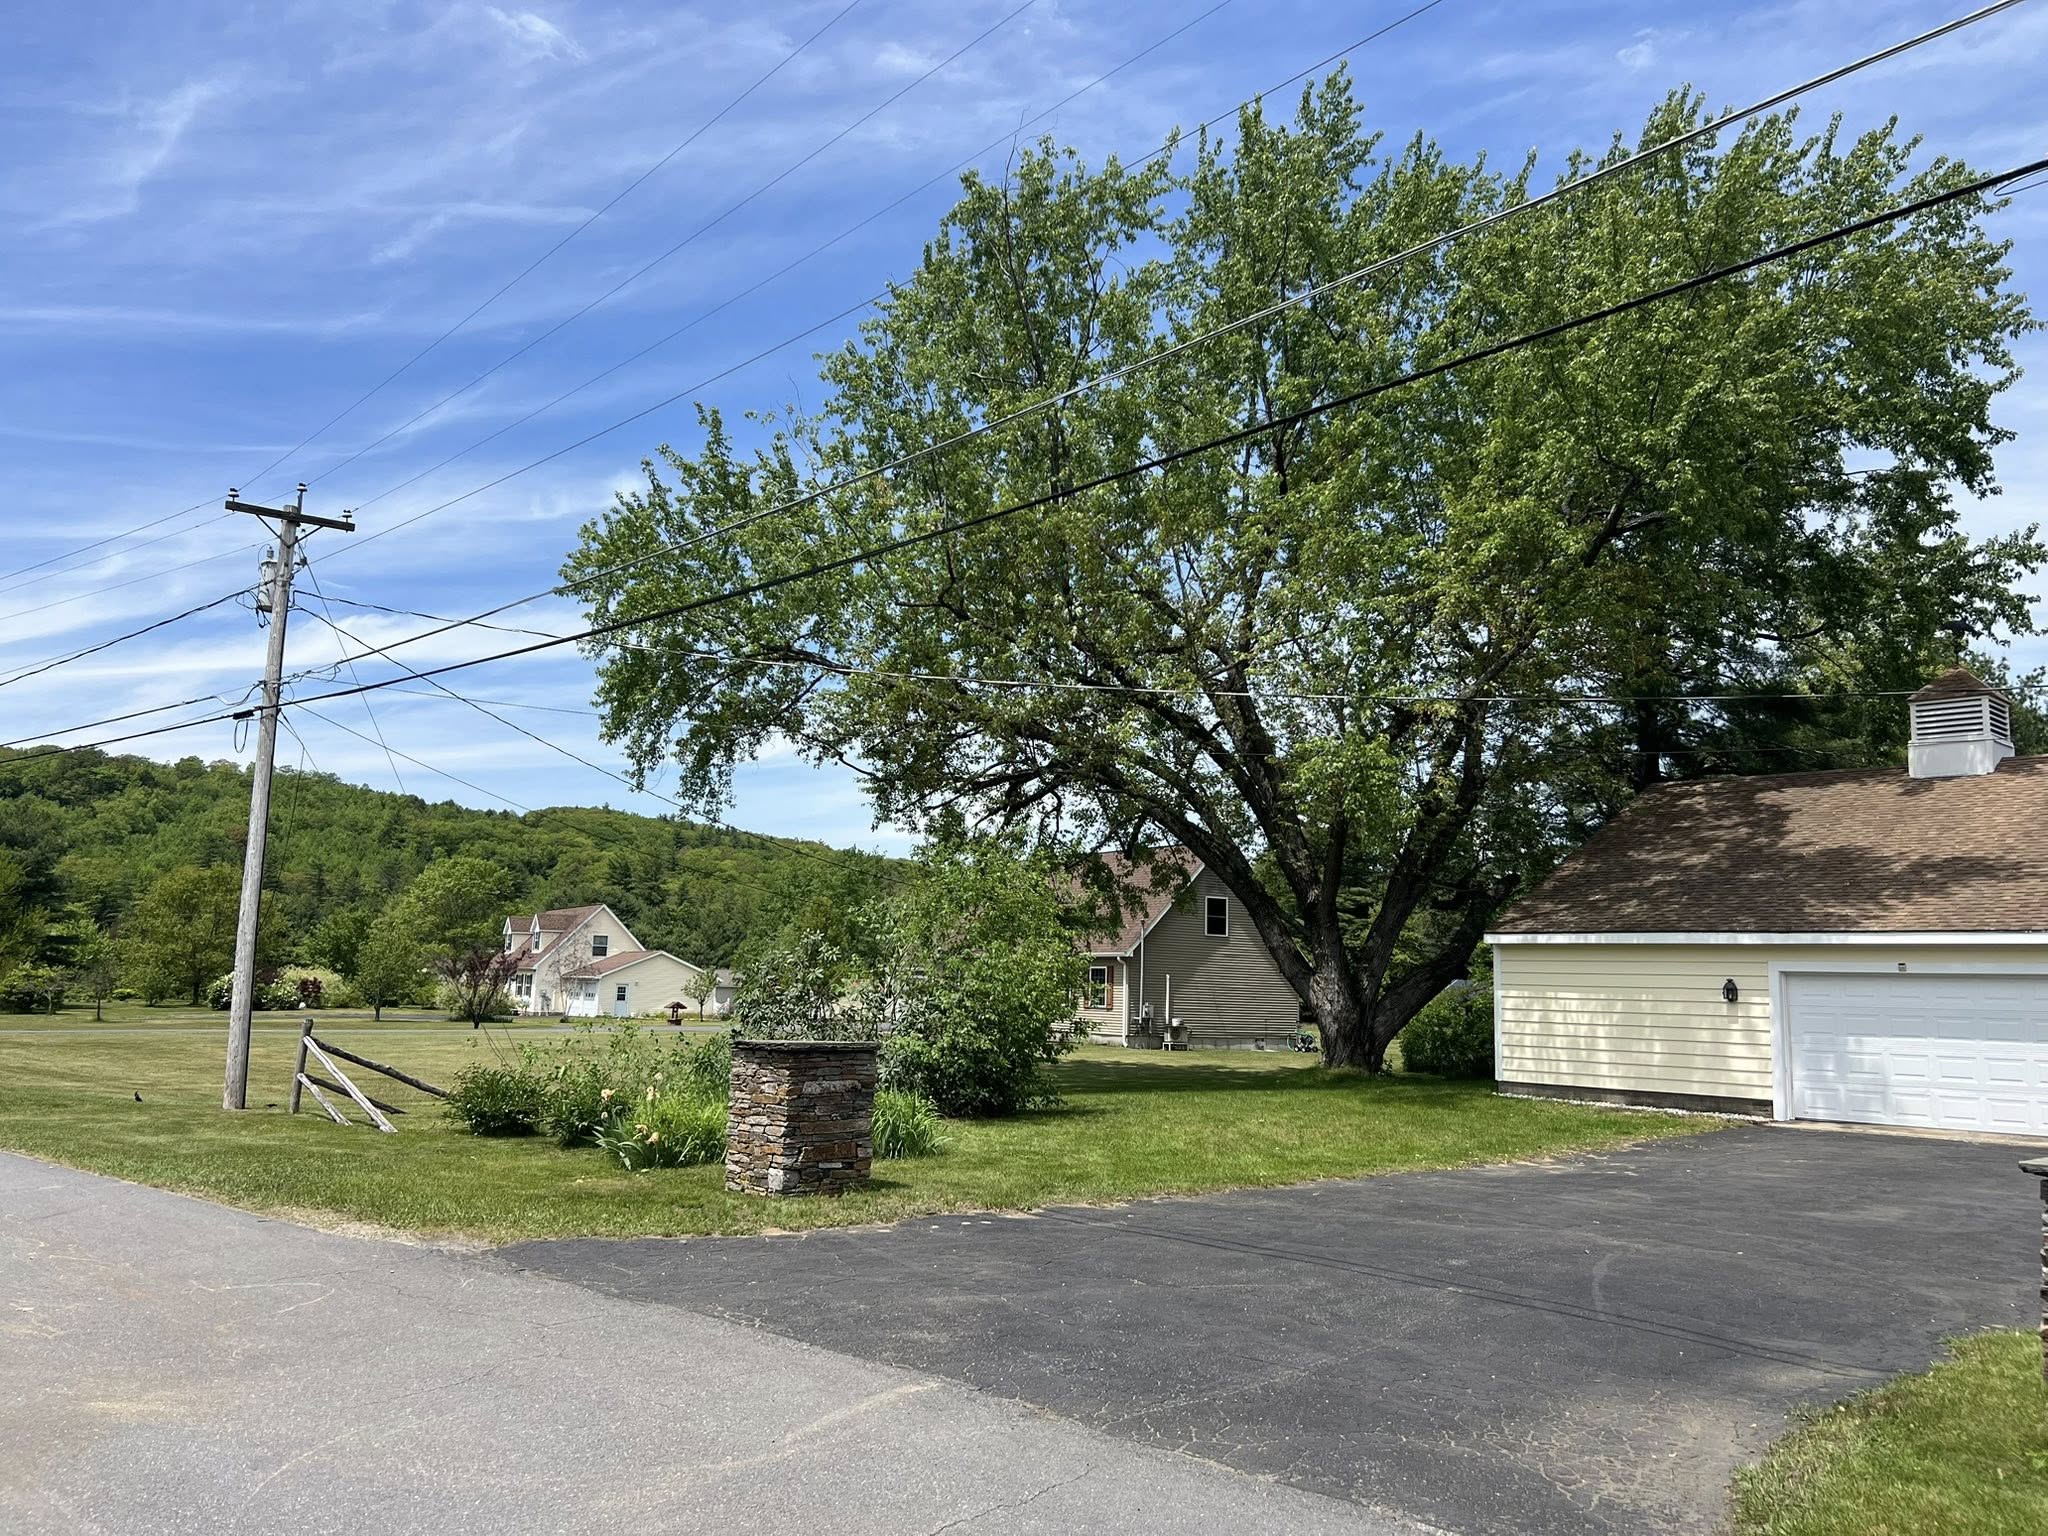
When evaluating tree distance, homeowners should focus on mature height and root spread, not how small the tree looks today. Many problems occur years later, once the tree reaches full size.
✓ Quick-Check Distance Guide
- Small ornamental trees: ideally 10 feet away
- Medium trees: 15–20 feet away
- Large hardwood trees: 20–30 feet away
- Trees with aggressive root systems: even farther, depending on species
These distances help reduce the risk of roof contact, foundation pressure, and storm-related limb damage, all common issues in New Hampshire homes.
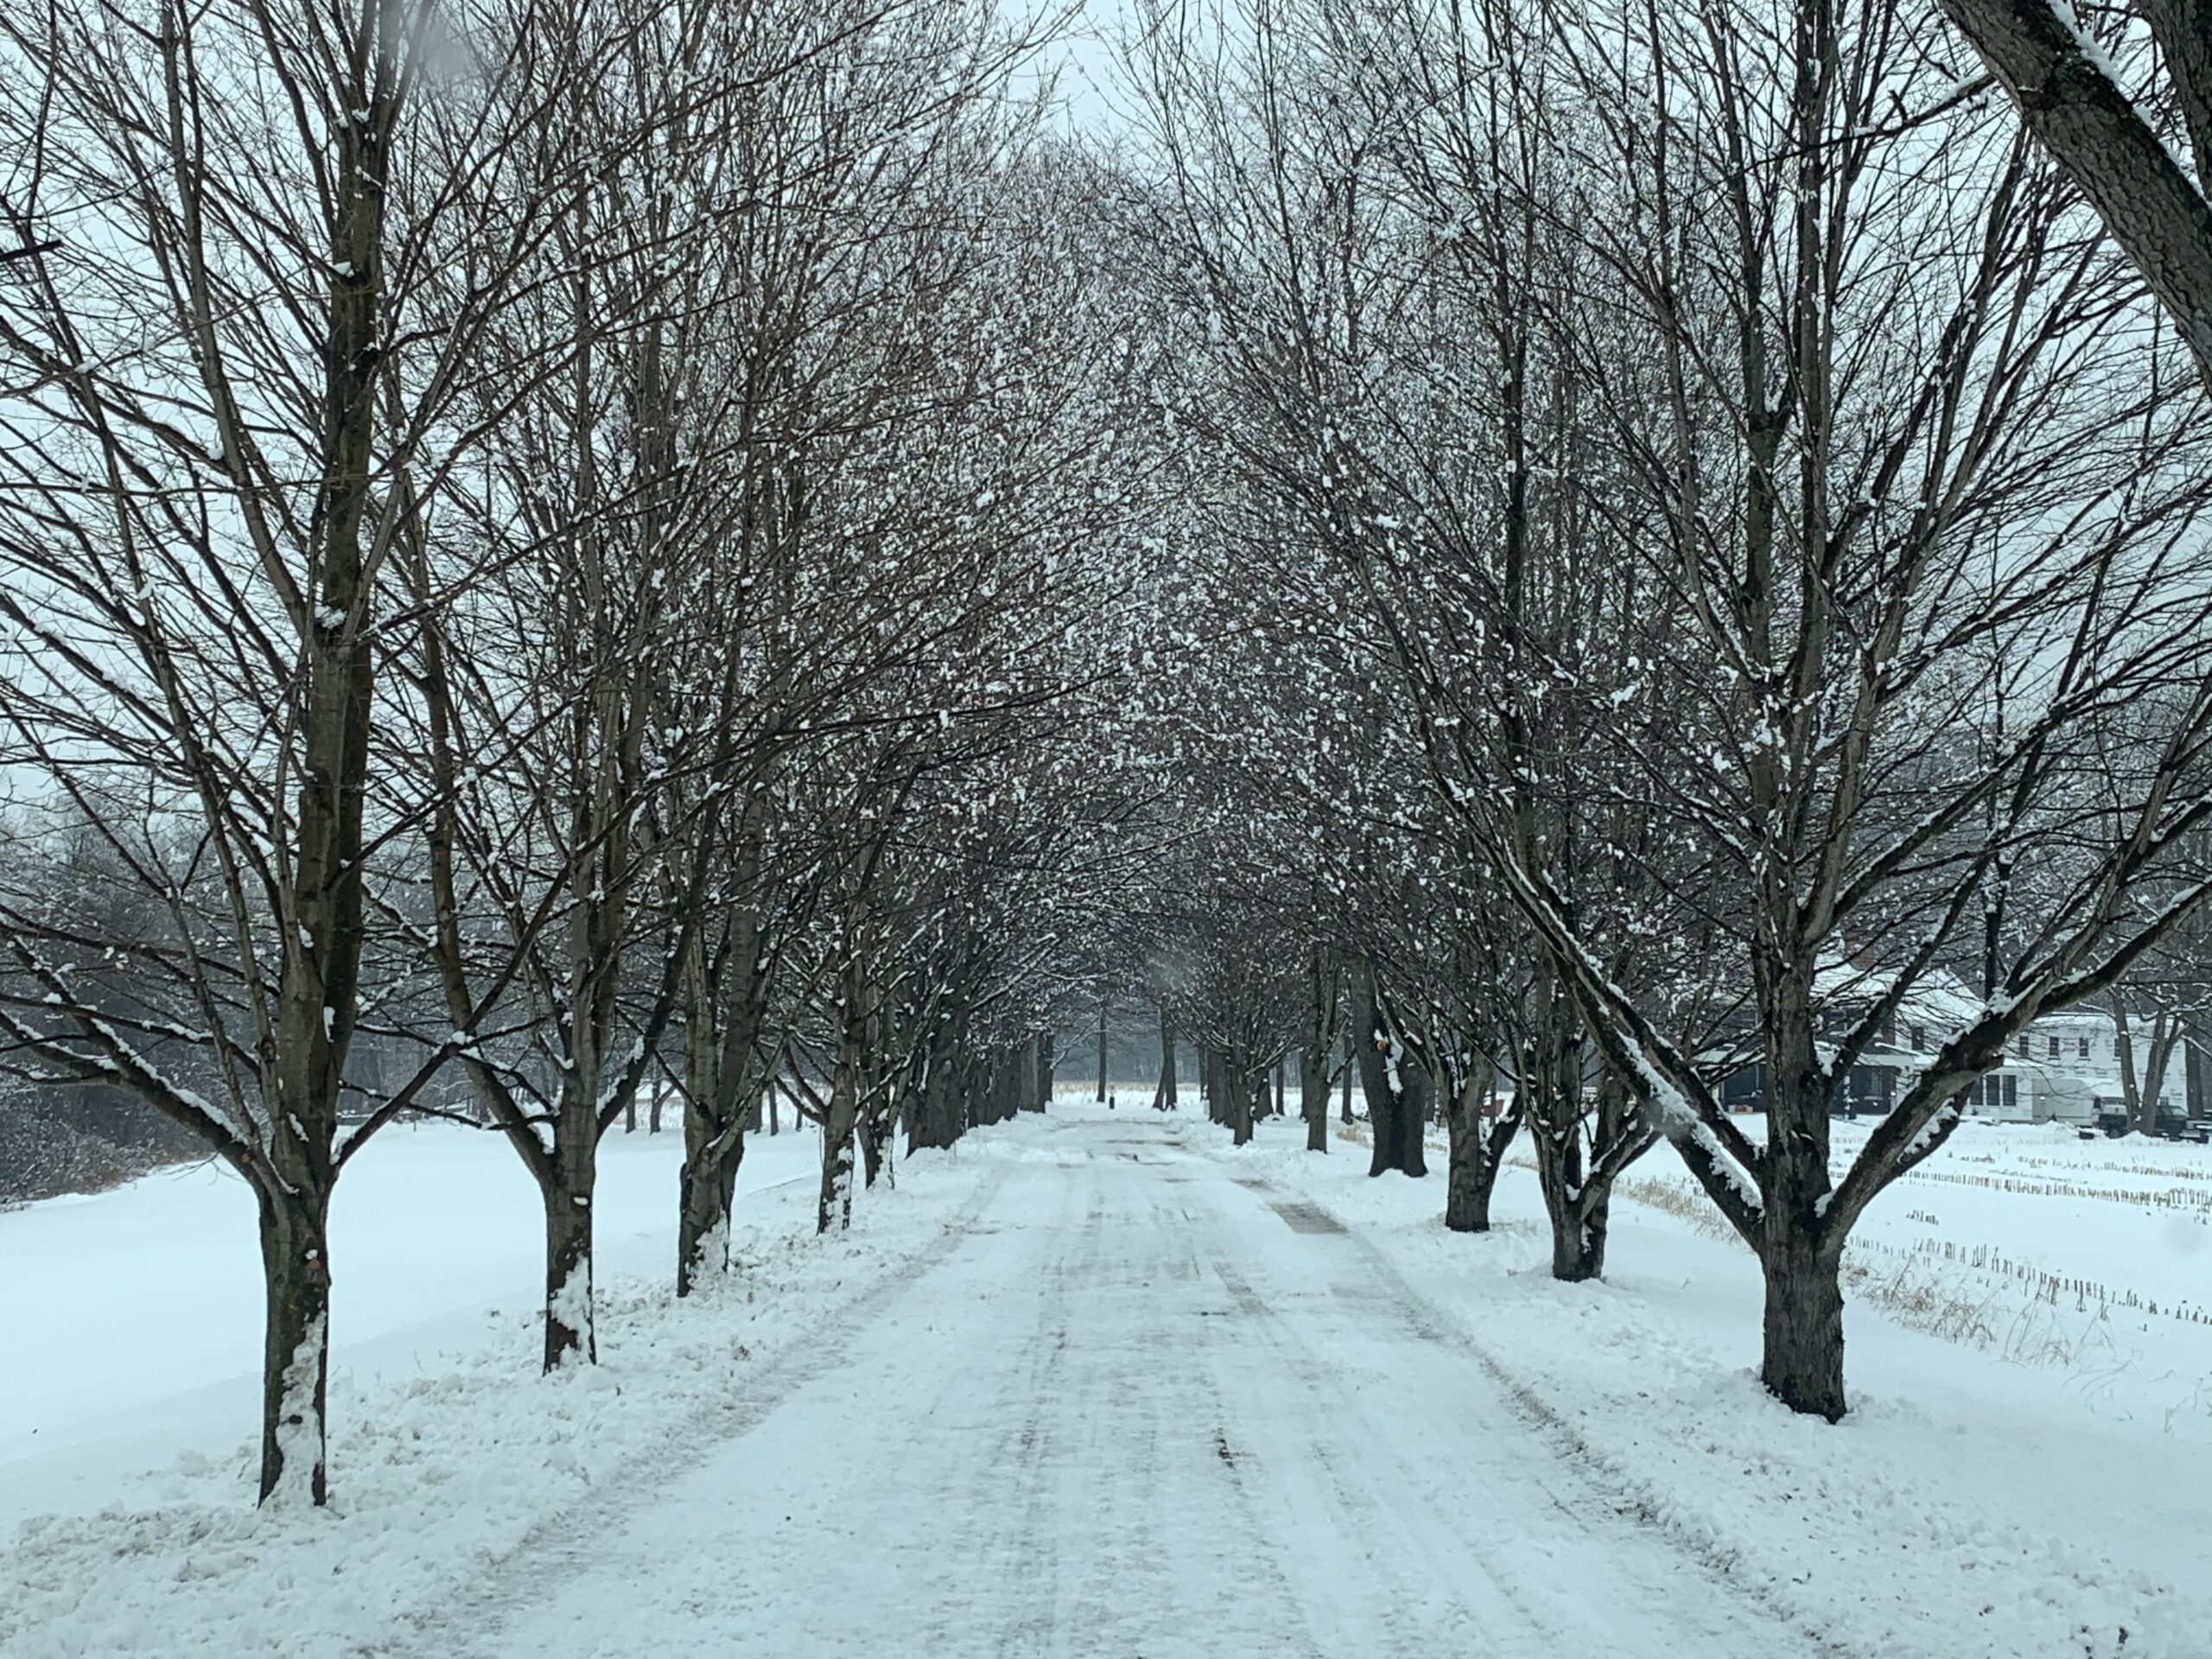
The NH Weather Factor — Why Trees Fall Faster Here
New Hampshire’s climate stresses trees more than many homeowners realize. Long winters, ice accumulation, repeated freeze-thaw cycles, and heavy spring saturation weaken root systems and increase the likelihood of tree failure.
A tree that seems stable in summer can become dangerous after months of snow load or ice buildup. This is especially true for trees growing too close to houses, where limited root space and compacted soil further reduce stability. That’s why removing large trees near a house in NH often becomes a safety decision rather than a cosmetic one.
Map the Tree’s Position Around Your Home
Instead of measuring distance alone, homeowners should evaluate impact zones around their home. This approach gives a clearer picture of how a tree could affect structures, utilities, and drainage.
|
Zone |
Description | What It Means |
|
House Contact Zone |
Within reach of roof, siding, or windows | Higher risk of scraping, moisture retention, and storm damage |
|
Foundation Zone |
Within estimated root spread |
Possible cracking, soil displacement, or foundation pressure |
|
Utility Zone |
Near overhead lines or underground systems |
Electrical hazards, plumbing damage, or service interruptions |
| Drainage Zone | Affects grading or water flow |
Increased risk of erosion, mold, or pooling water |
Mapping these zones helps determine whether trimming, monitoring, or removal is the safest course of action.
The 3 Levels of Tree Risk for New Hampshire Homes
Not all close trees require removal. Risk depends on structures, health, and movement during storms. Here’s how you determine it:
Level 1: Low Risk
The tree is healthy, stable, and not interacting with the home’s structure. There’s no roof contact, the tree is upright and has a stable trunk and it looks full, healthy canopy. Annual inspections and light trimming are usually sufficient in this case.
Level 2: Moderate Risk
The tree shows early warning signs and requires ongoing evaluation. Its branches are nearing the roof, its roots spreading toward walkways or foundations and there might be some deadwood or thinning canopy. These trees often need scheduled pruning and monitoring to prevent escalation.
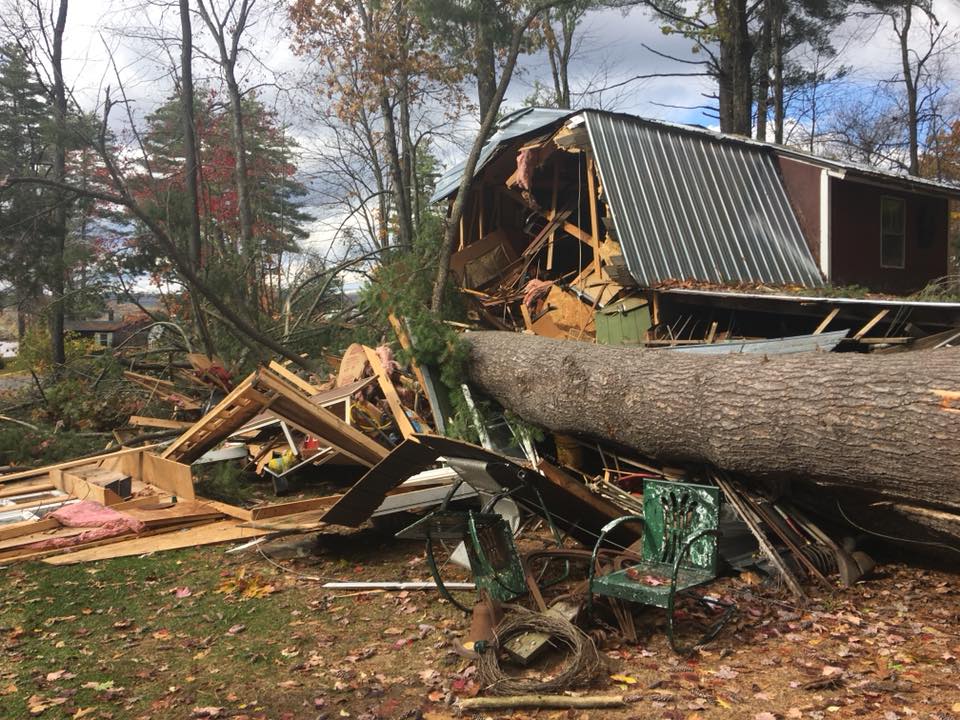
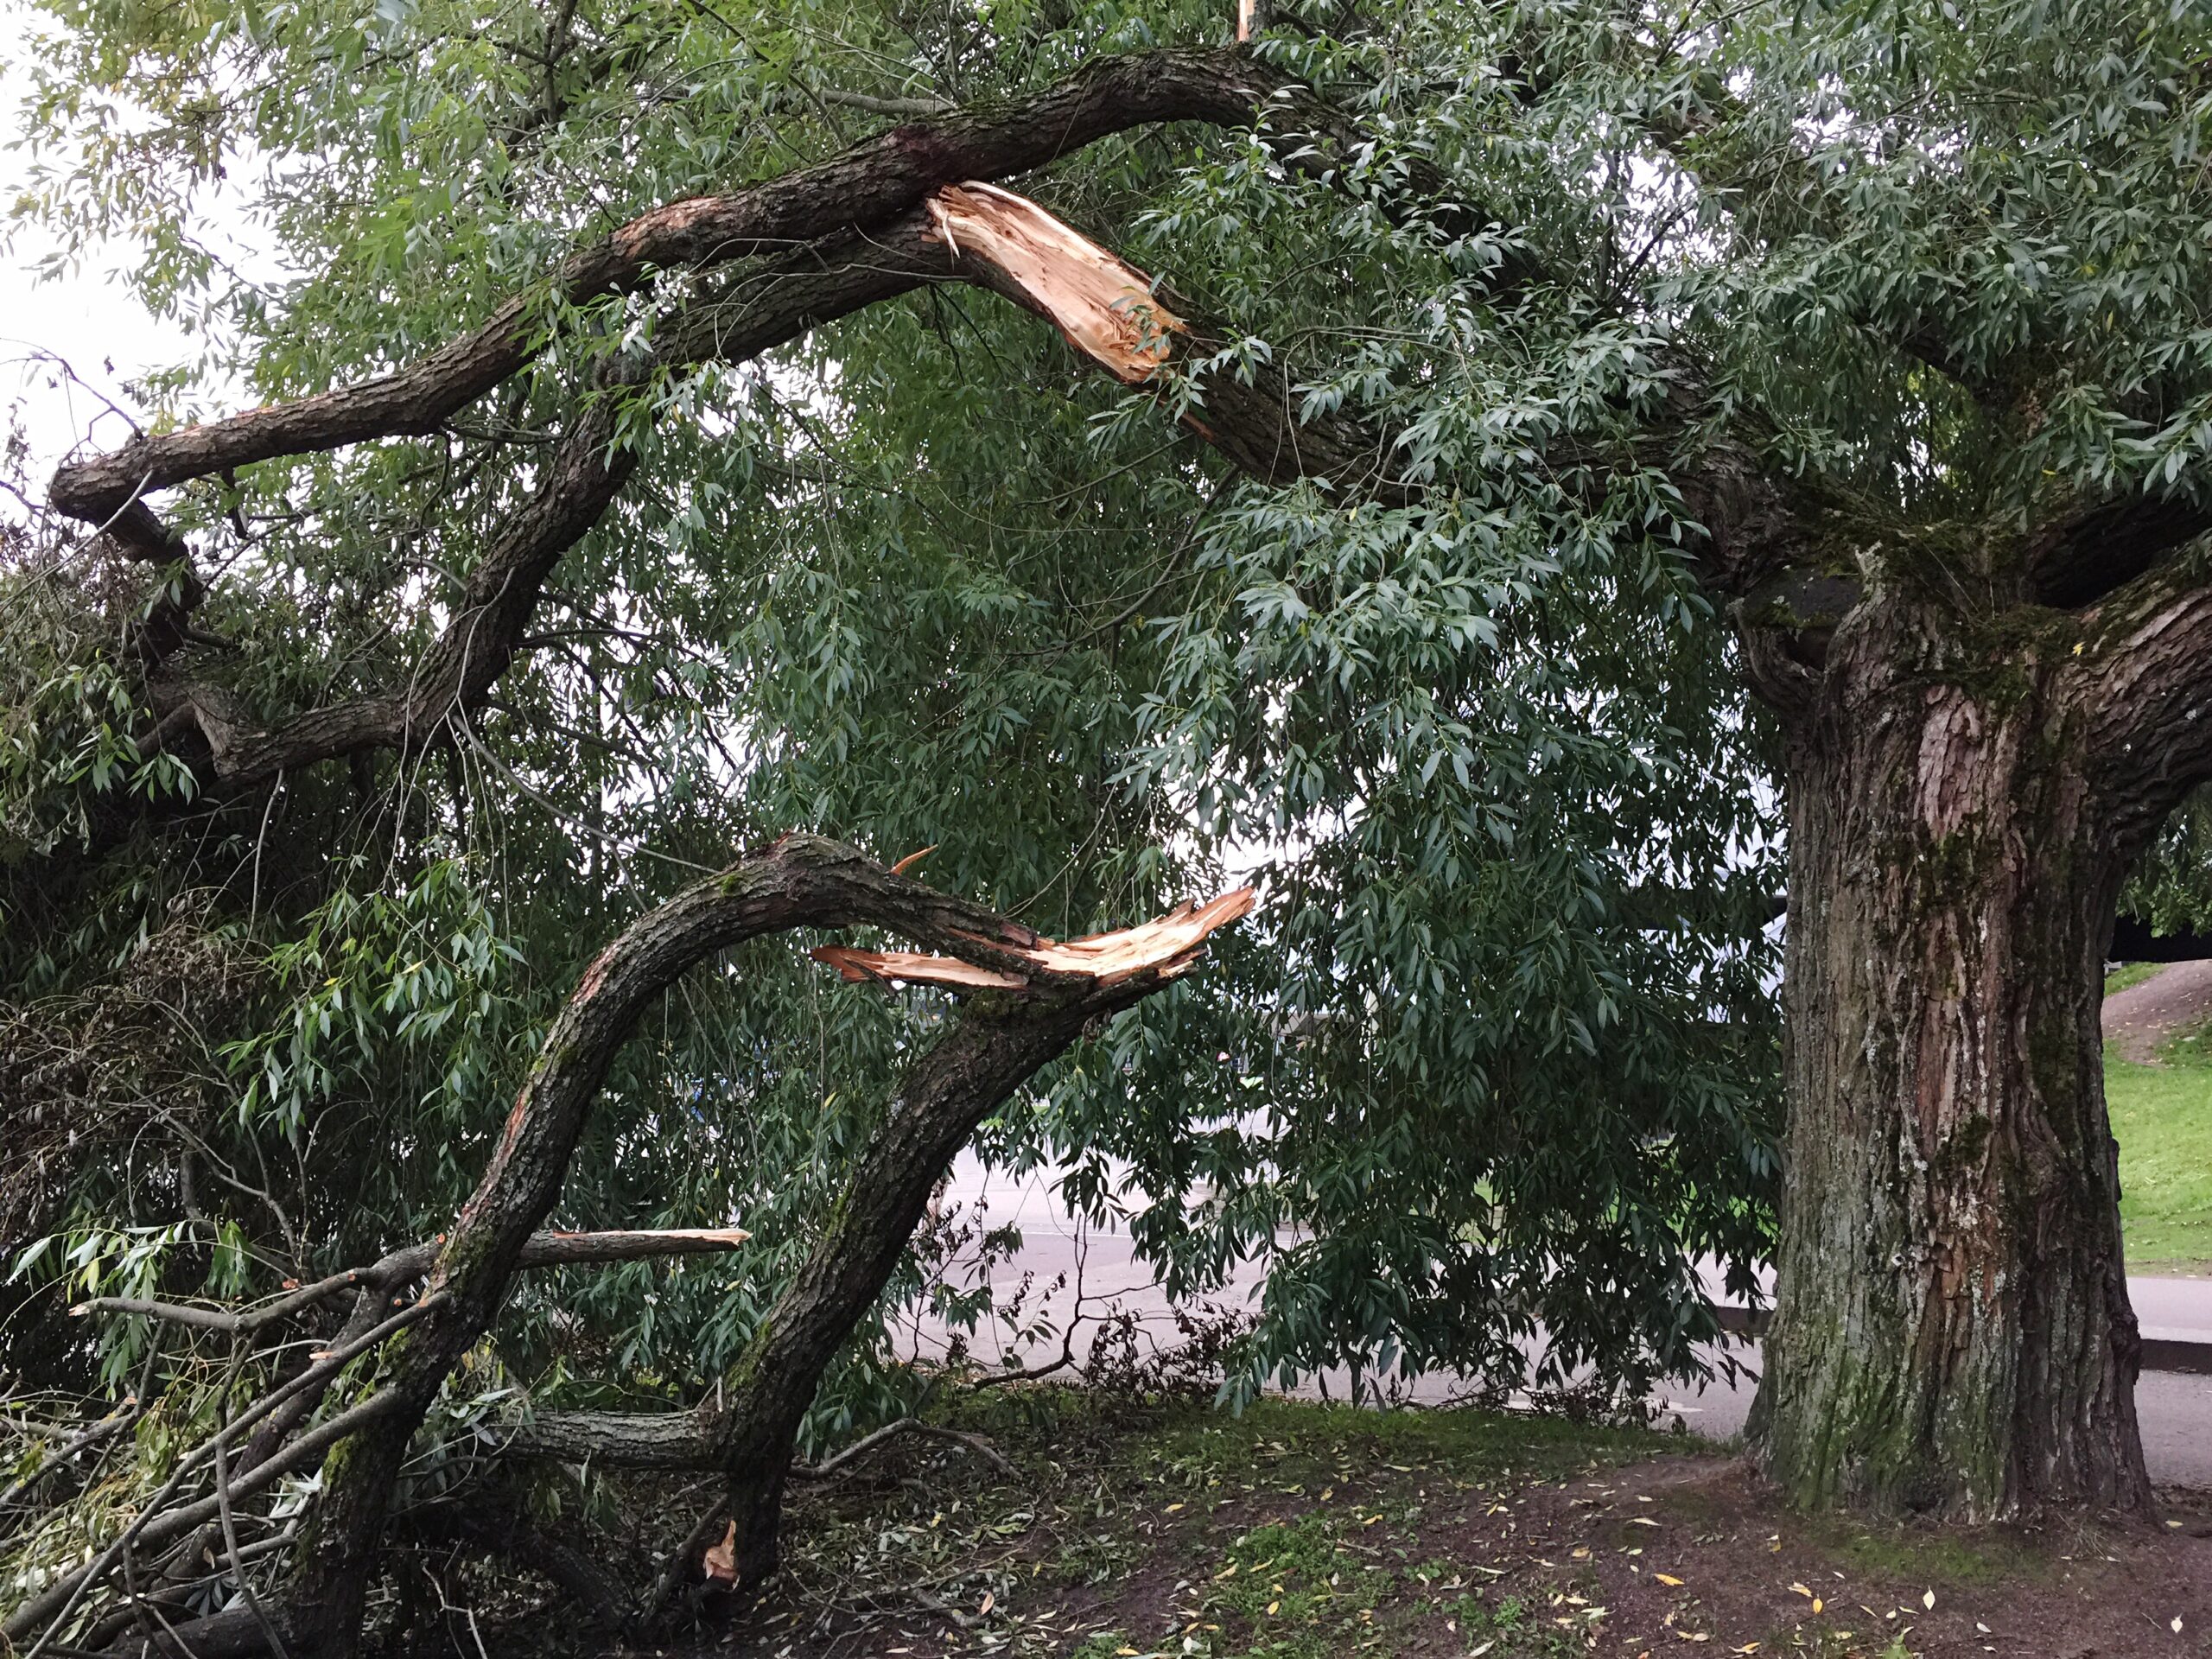
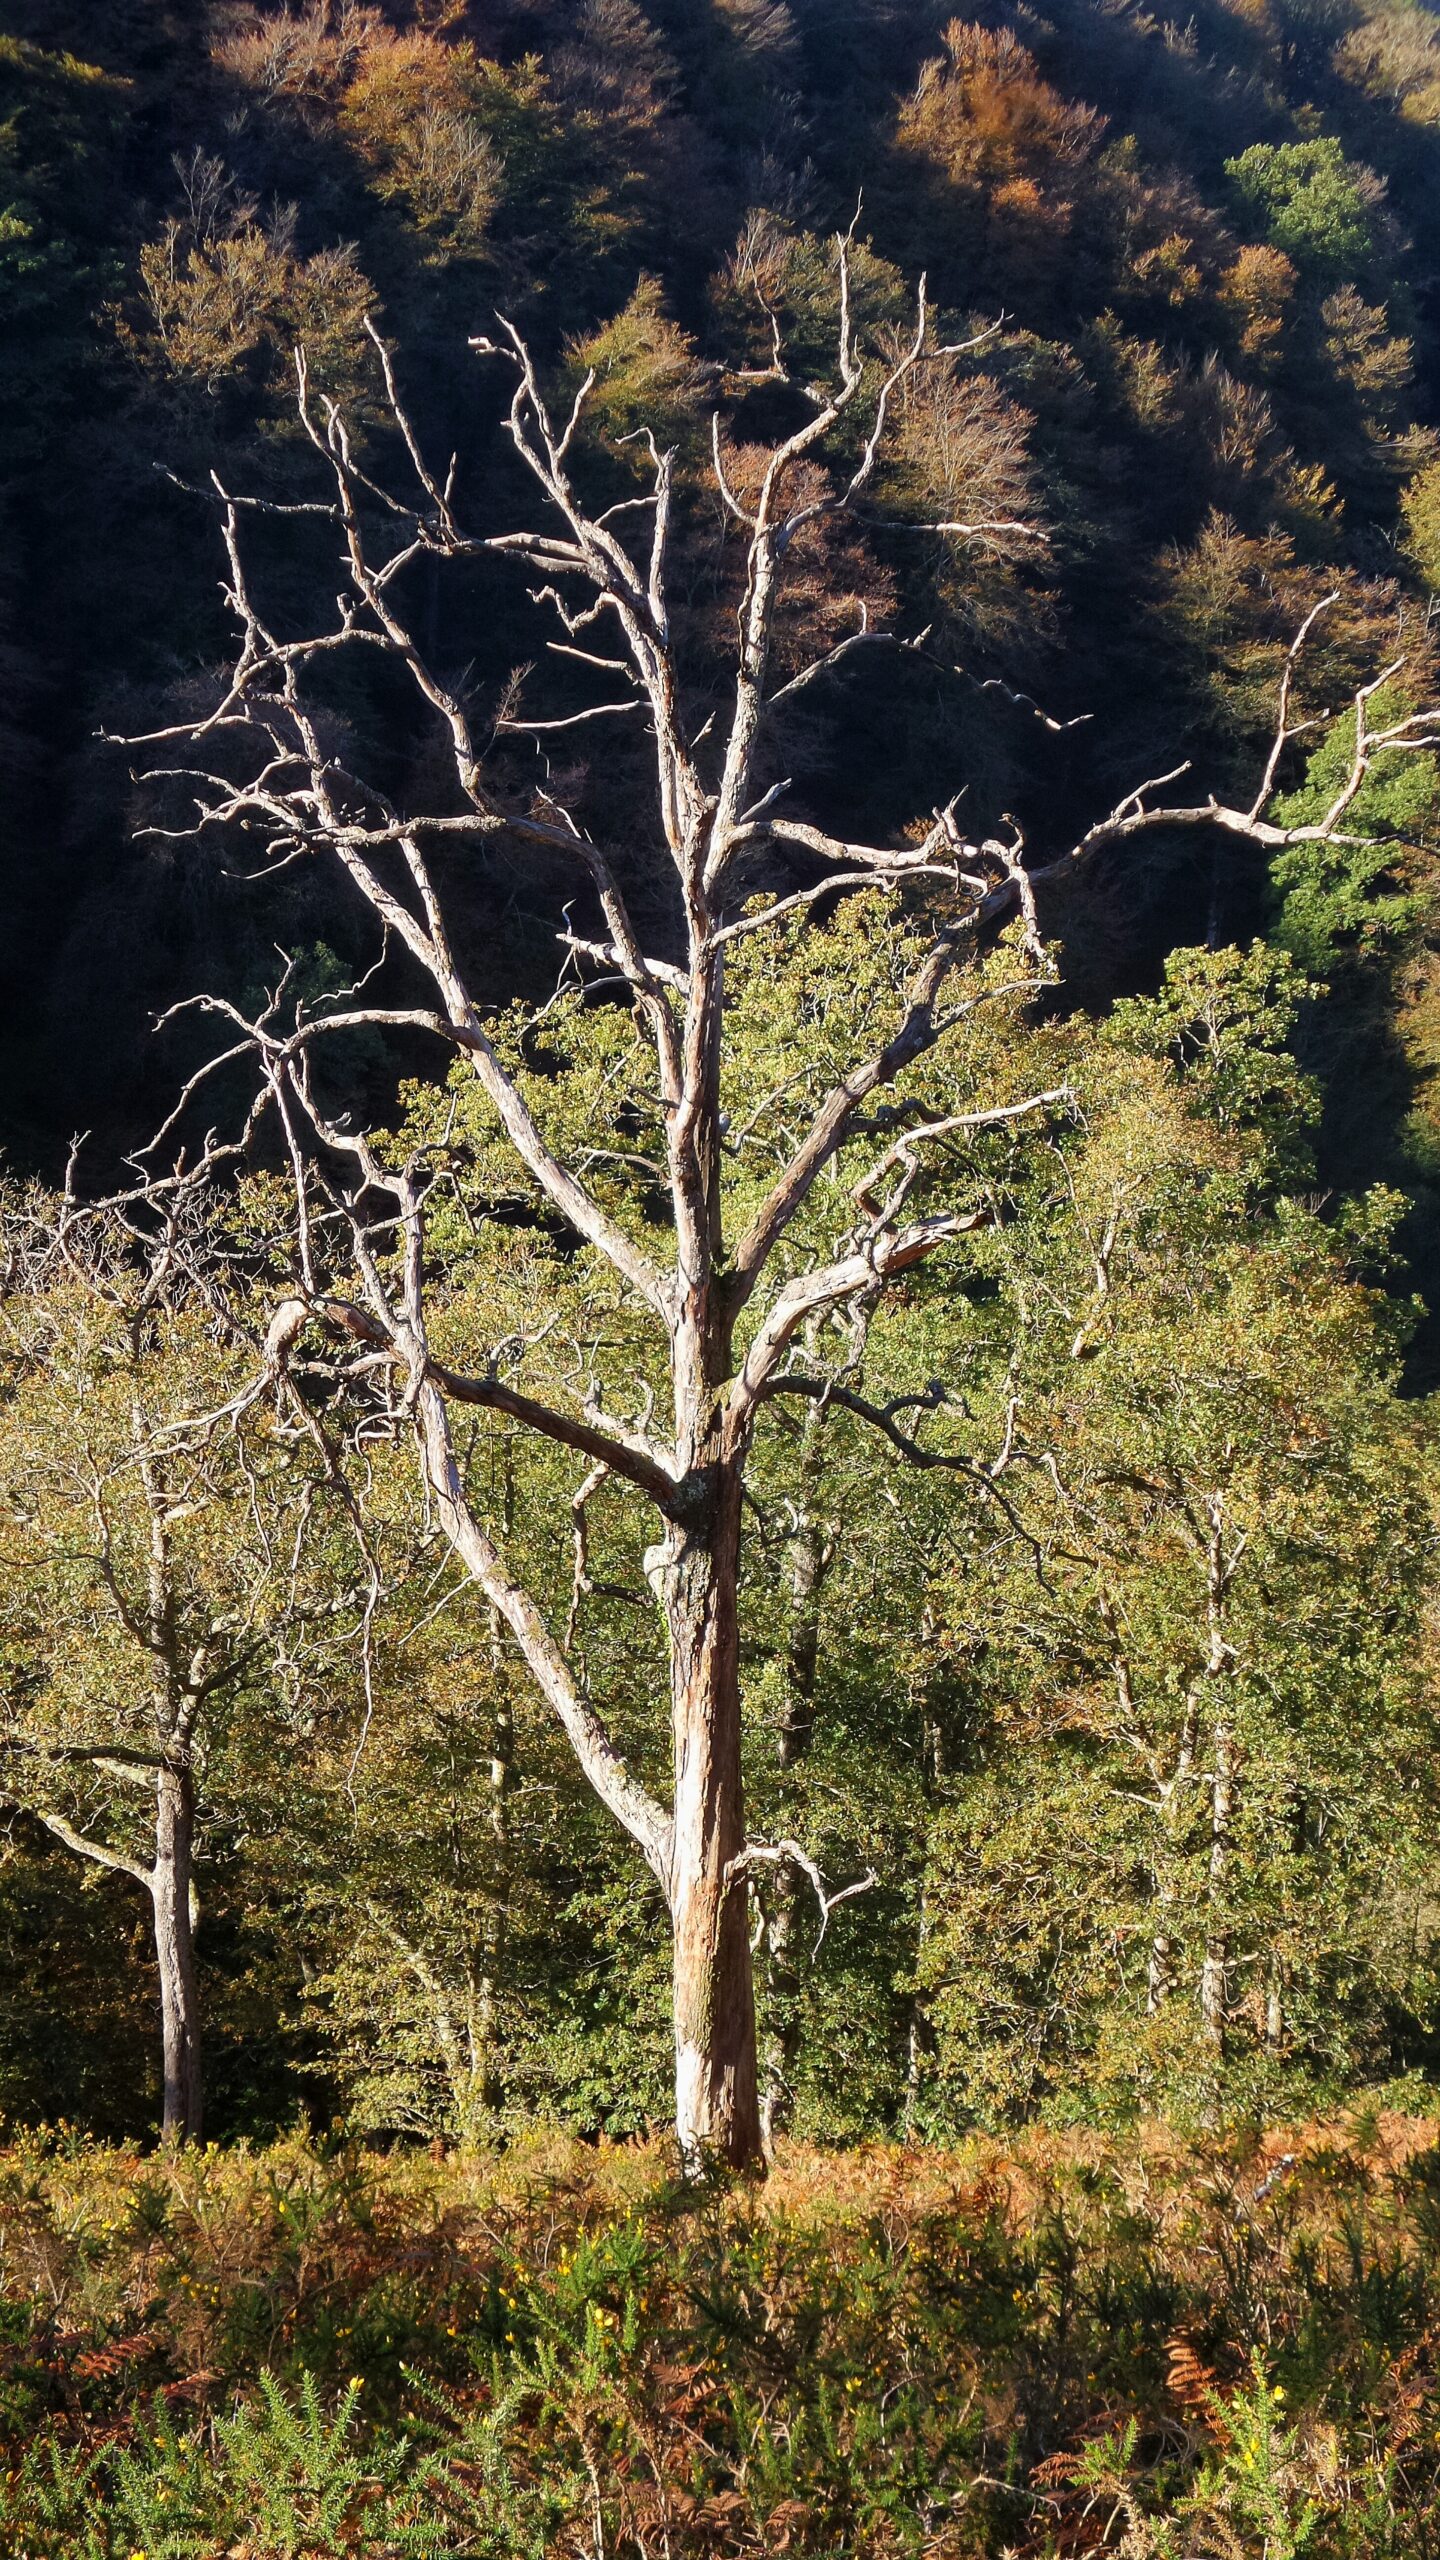
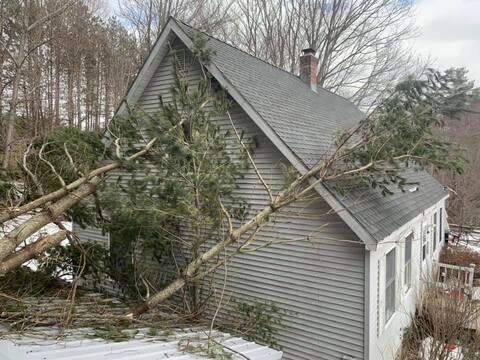
Level 3: High and Immediate Risk
These trees pose a serious threat and often require professional removal. They’re usually leaning toward the home, showing cracks at the base or trunk, it has a hollow or decayed interior, and they cause soil lifting or root plate movement and show heavy overhang during storms. In these cases, tree removal services are the safest solution.
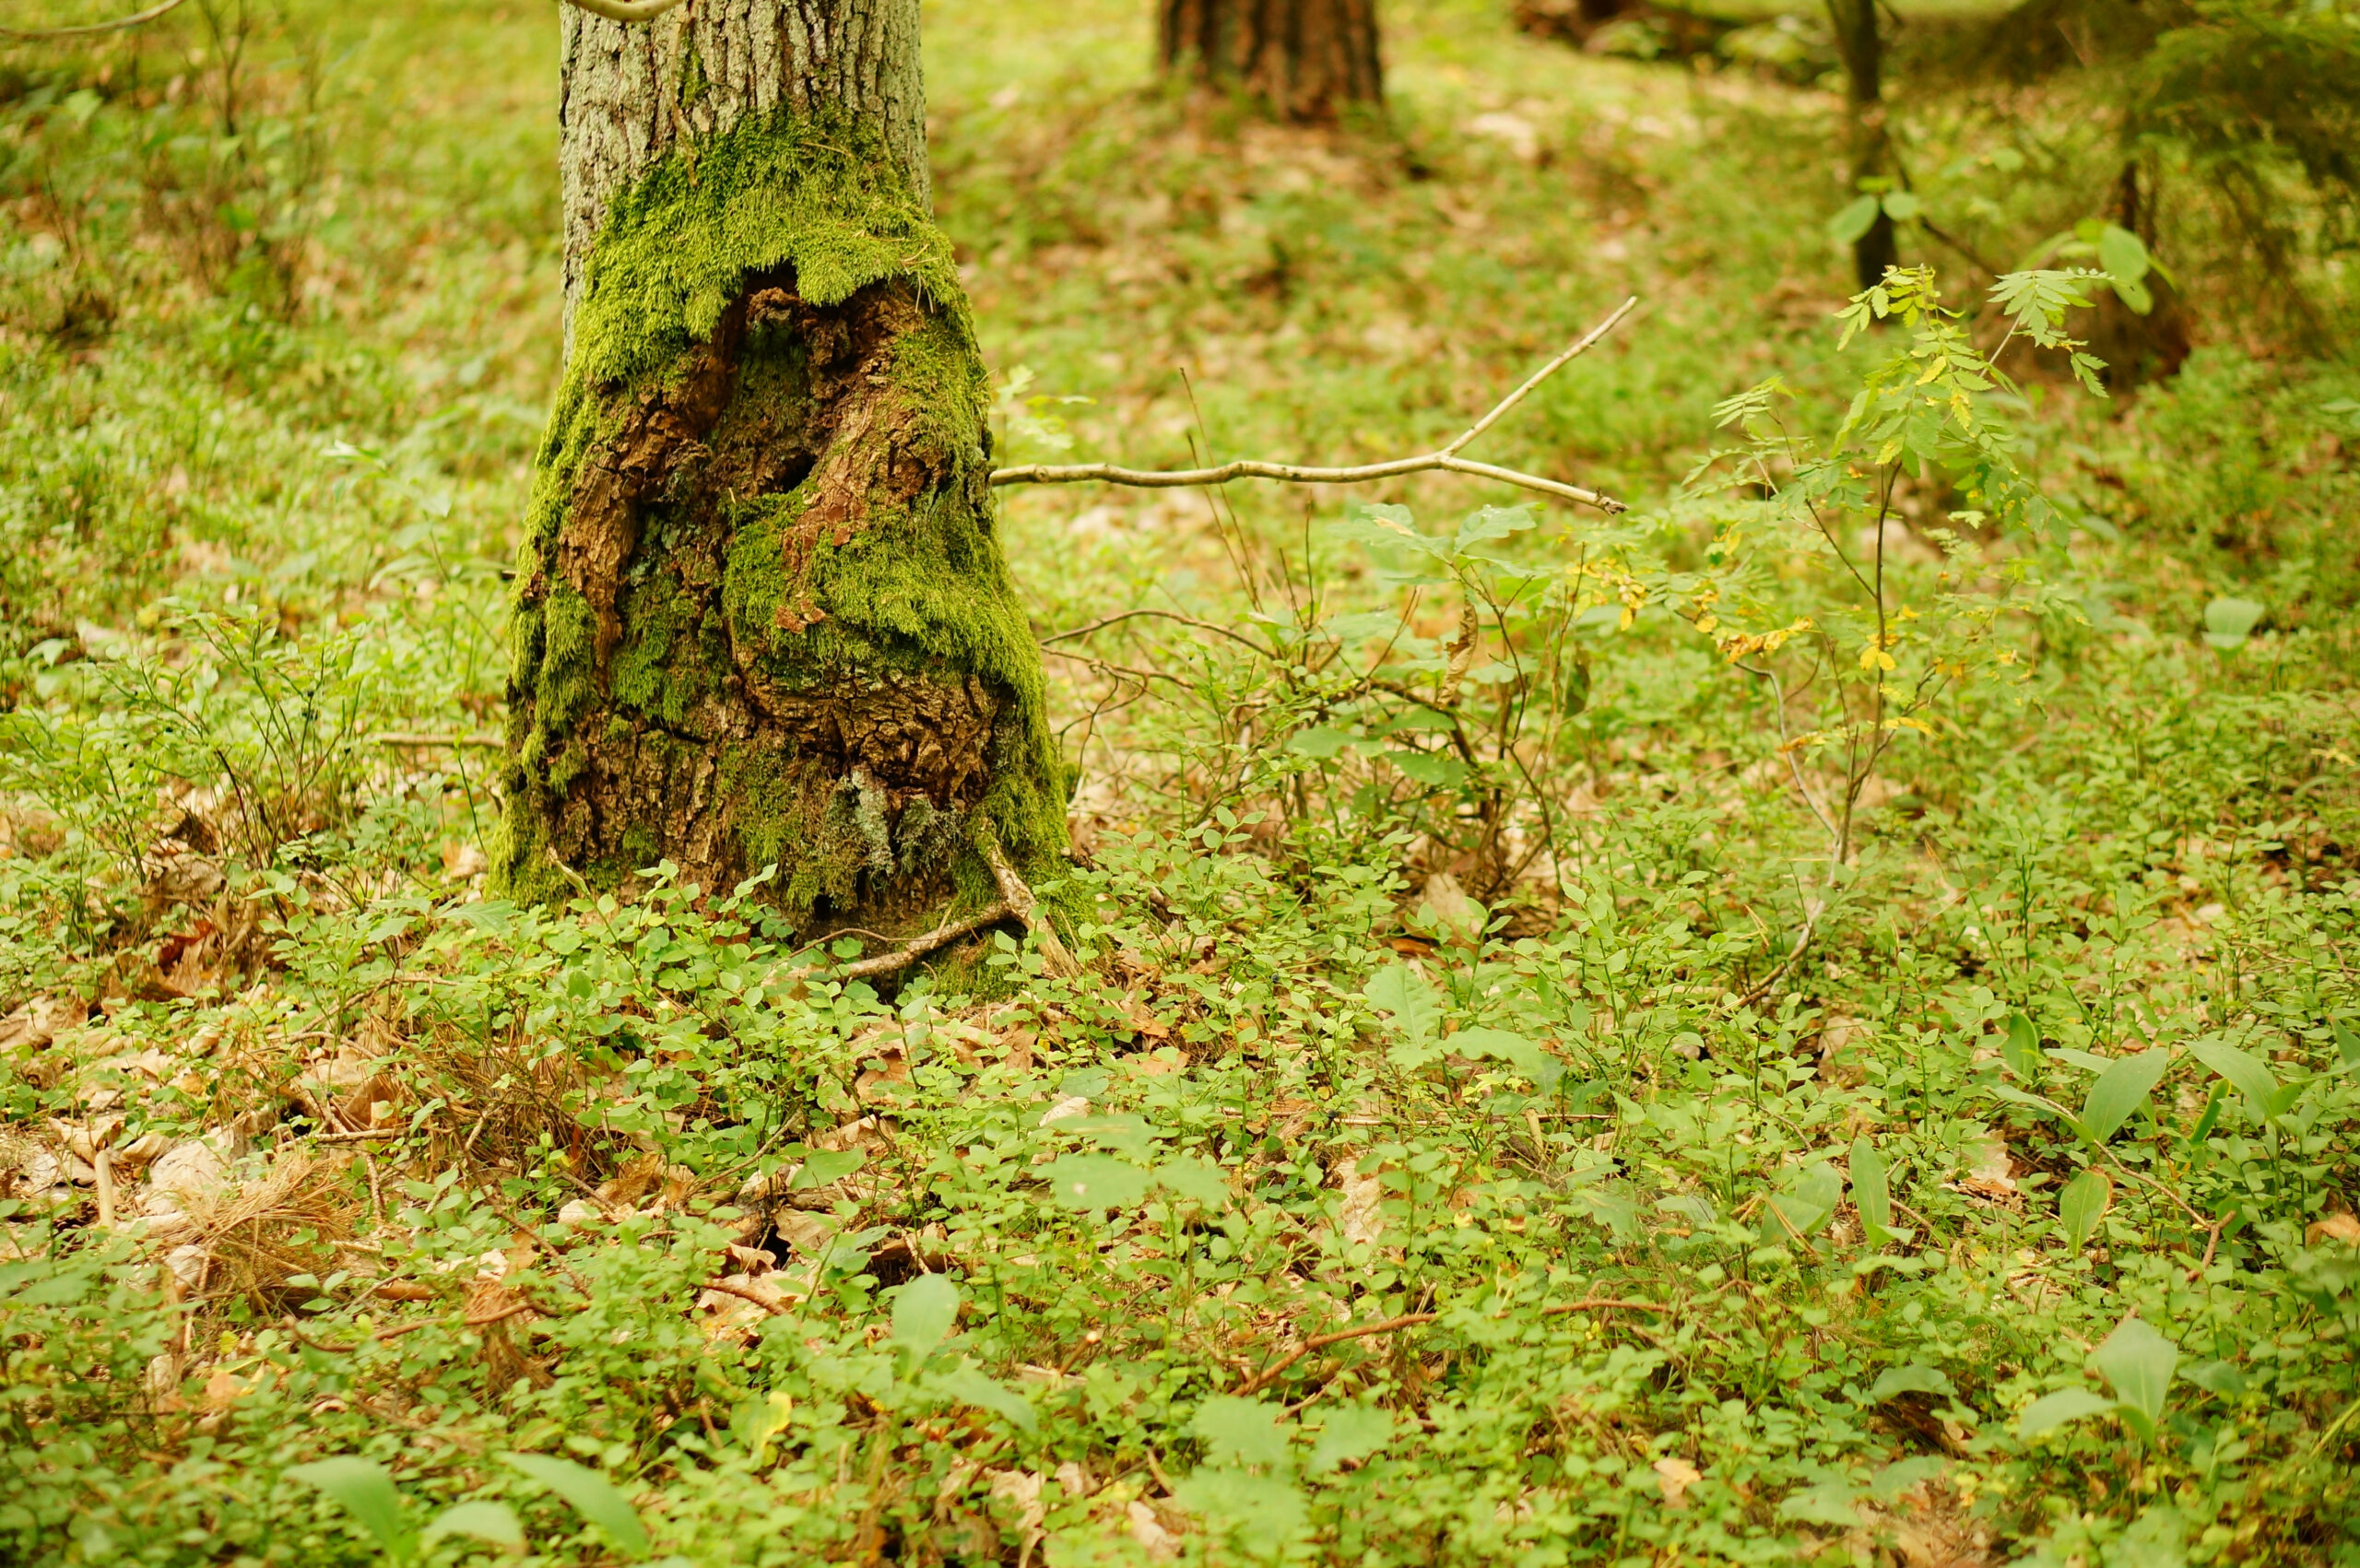
What You Can Do Before Calling a Professional
Before scheduling an inspection, homeowners can take a few safe, practical steps to better understand the situation.
Start by clearing debris around the base of the tree so the trunk and root flare are visible. Take clear photos of any leaning, cracking, or points where branches contact the roof or siding. During windy days, observe how the branches move and whether the tree sways excessively. Pay attention to drainage problems as well, such as pooling water, soil erosion, or signs of mold near the foundation. During storms, listen for creaking or cracking sounds, which can indicate internal stress.
Gathering this information ahead of time helps professionals assess risk more accurately and recommend the safest course of action.
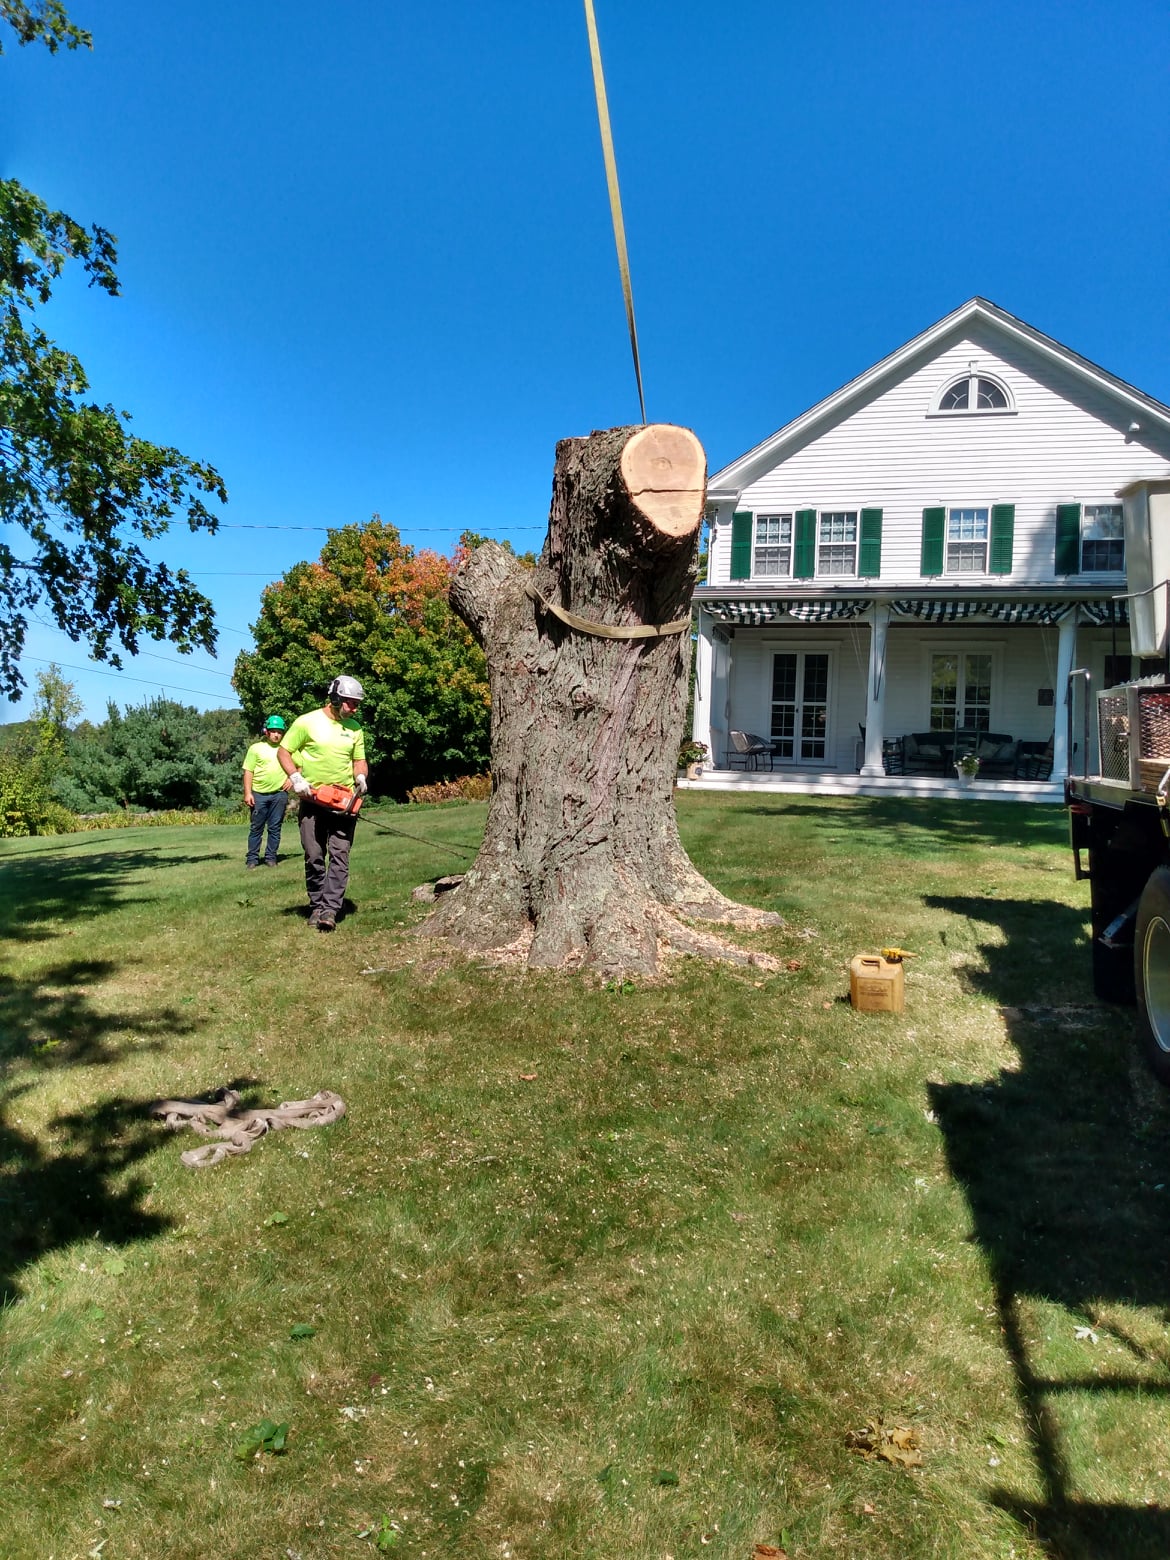
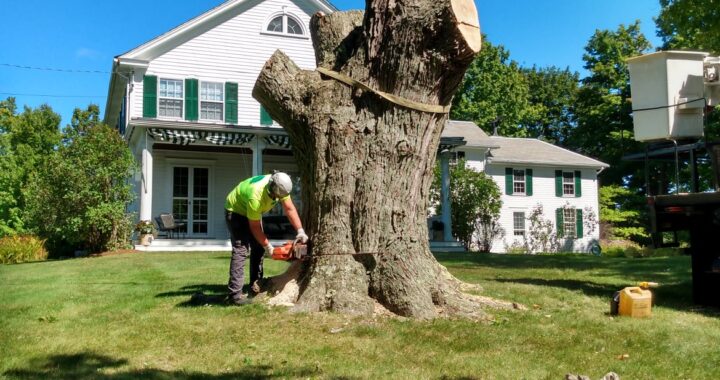
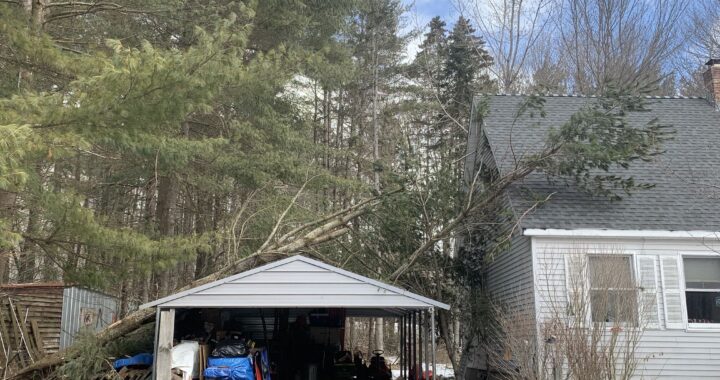
When Cutting Down a Tree Near Your House Becomes the Right Decision
Many homeowners ask, “Should I cut down a tree close to my house in NH?” Removal is usually recommended when the tree threatens structural integrity or is unlikely to withstand New Hampshire’s winter conditions.
Common indicators include:
- The tree leans toward the roof or living spaces
- Internal trunk decay or hollowing
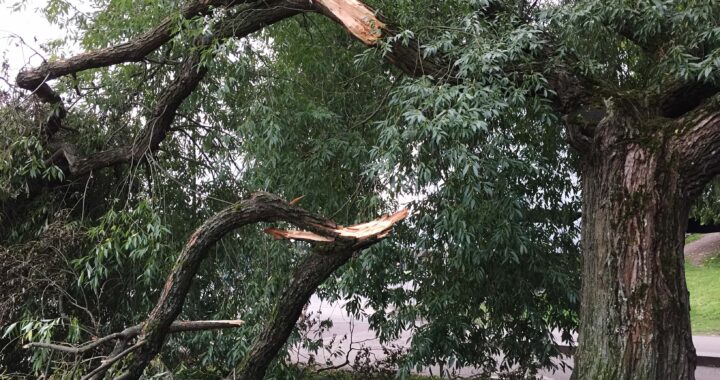
- Repeated limb loss during ice or wind storms
- Roots buckling walkways or foundations
- Soil heaving or lifting at the base
These signs suggest the tree may not survive the next major storm or severe weather conditions safely.
Trim It, Monitor It or Remove It?
Sometimes the decision isn’t obvious. This quick flow can help guide your decision:
✓ Fast Homeowner Decision Flow
- Branches touching or nearly touching the roof → Trim
- Trunk healthy but planted too close → Monitor + trim
- Tree leaning or hollow → Remove
- Roots pushing structures → Remove
- Species known for aggressive growth → Evaluate for removal
Protect Your Home With Expert Guidance
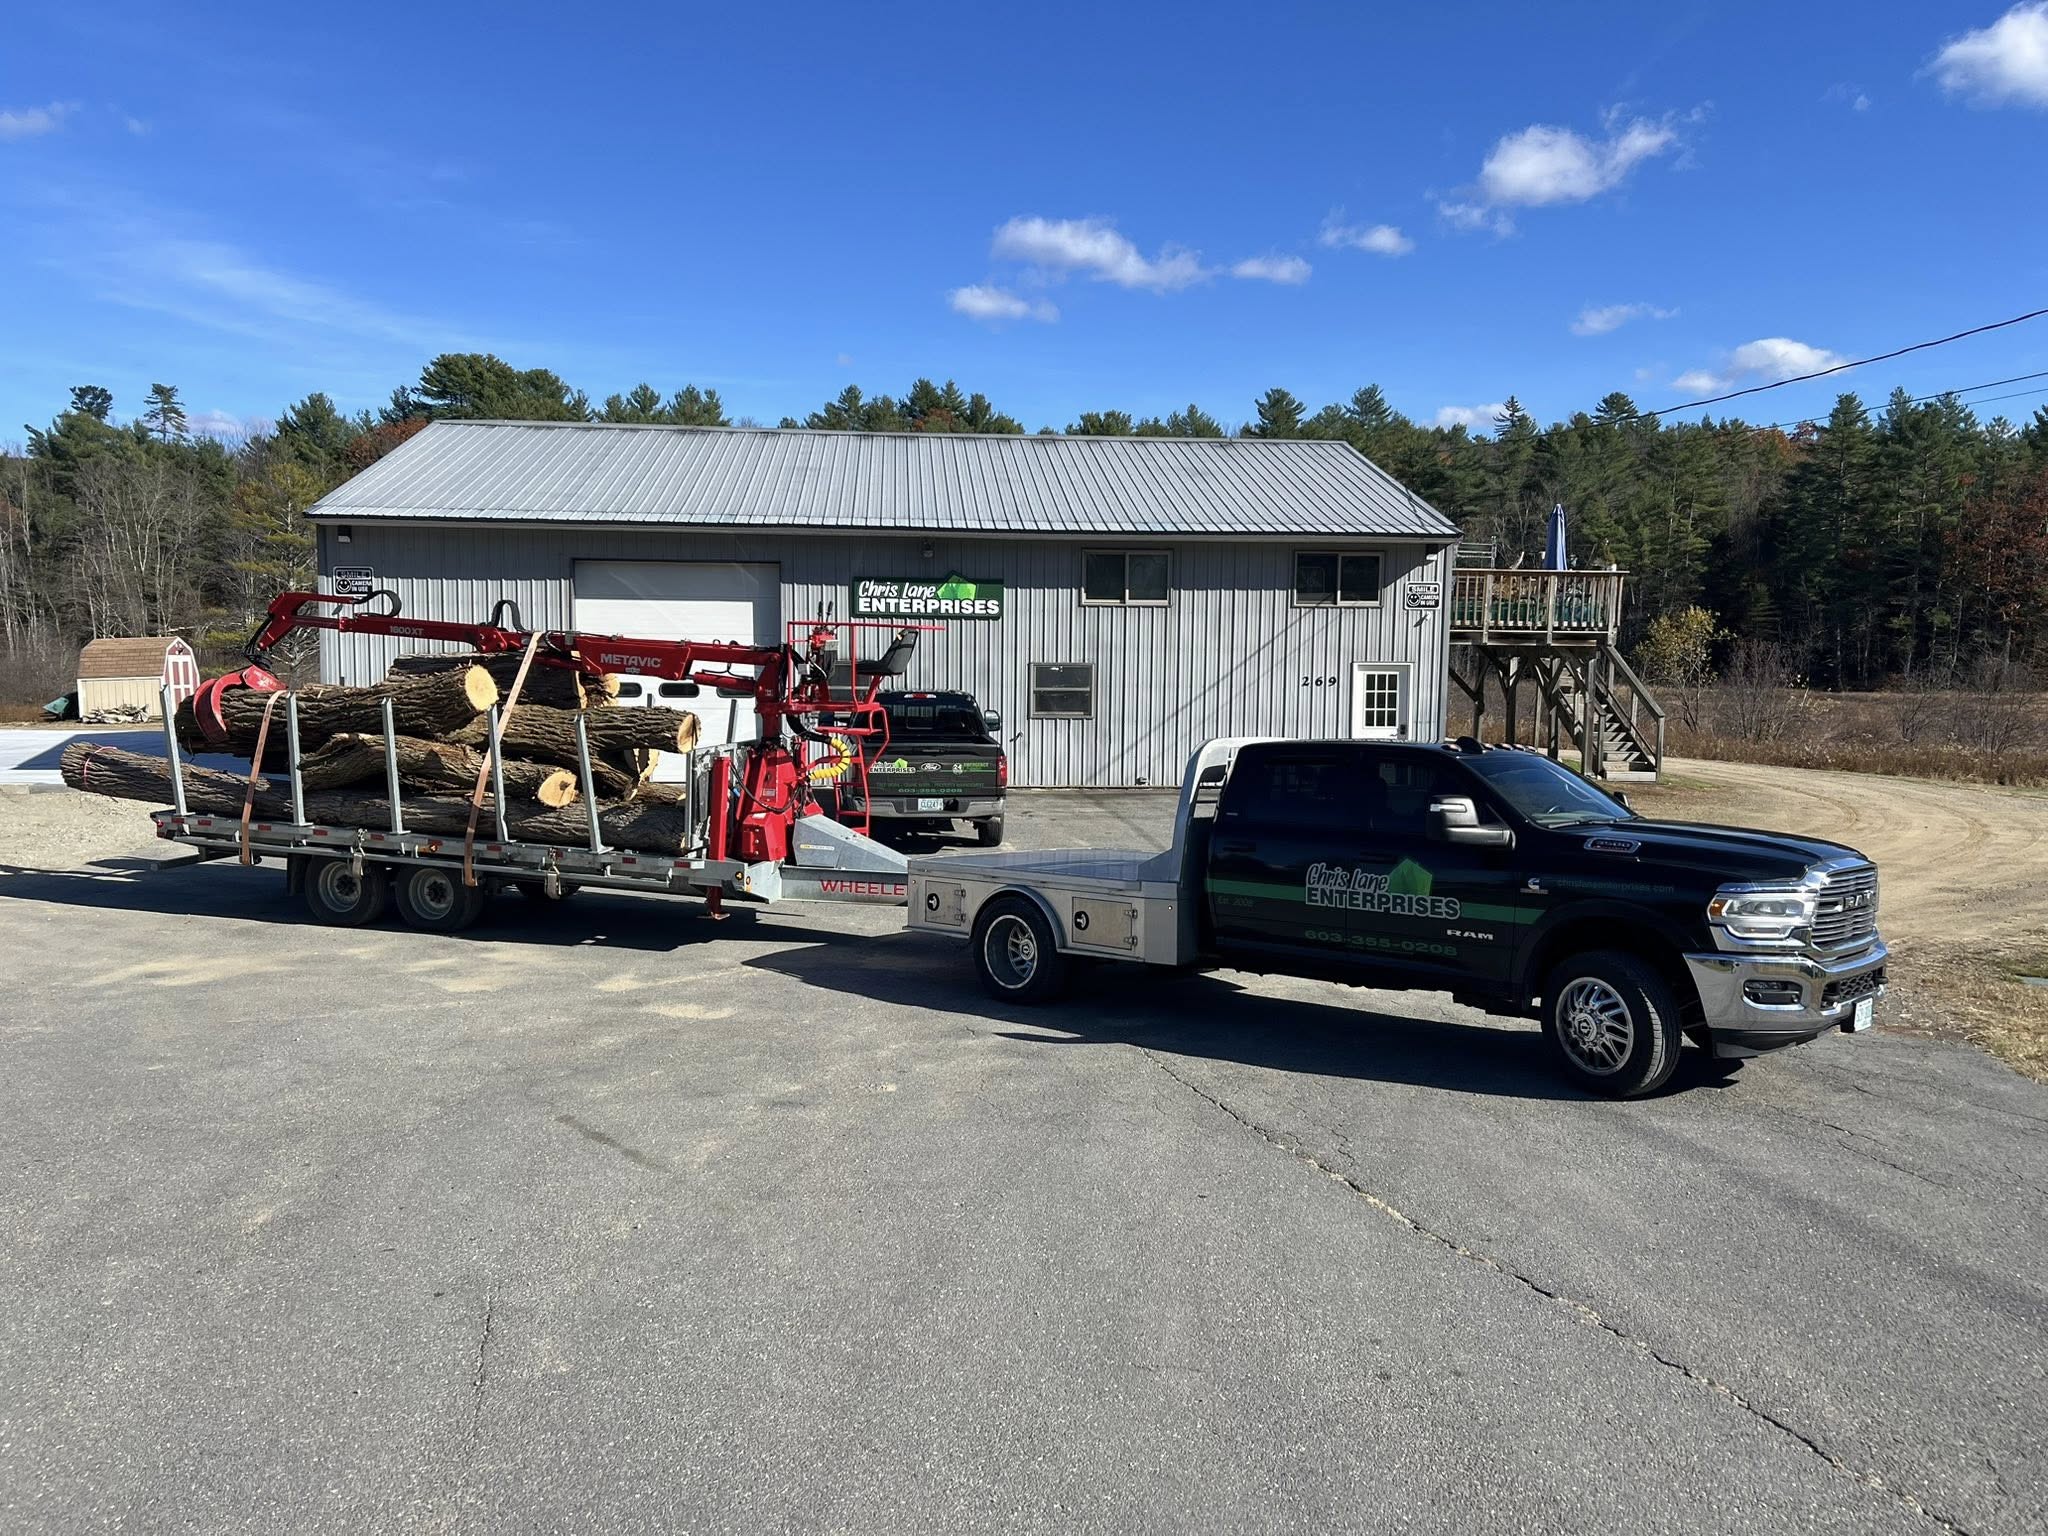
A tree growing too close to your house can feel overwhelming, but guessing can lead to costly mistakes. With professional assessment, you gain clarity, reduce risk, and protect your home long-term.
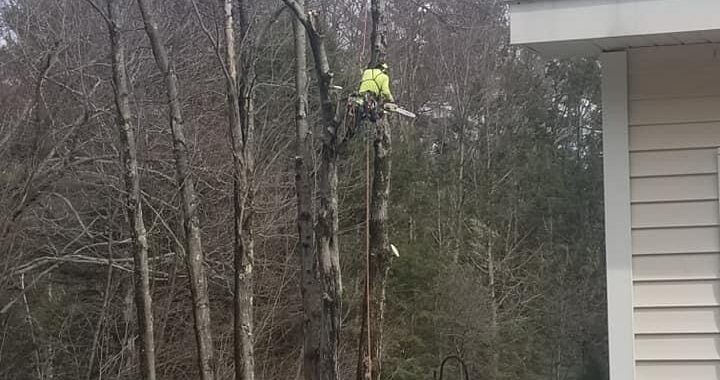
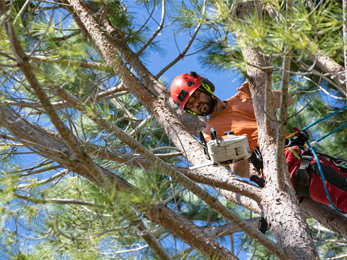
Chris Lane Enterprises provides safe, precise, and fully insured tree removal services tailored to New Hampshire homes and weather conditions. Whether the solution is trimming, monitoring, or full removal, our experienced crew and heavy equipment ensure the job is done right. Contact us today!
FAQS
How to tell if a tree is too close to a house?
If branches touch the roof, roots extend toward the foundation, or the tree leans toward the structure of your home, it may be too close. Mature height, root spread, and storm behavior are key indicators.
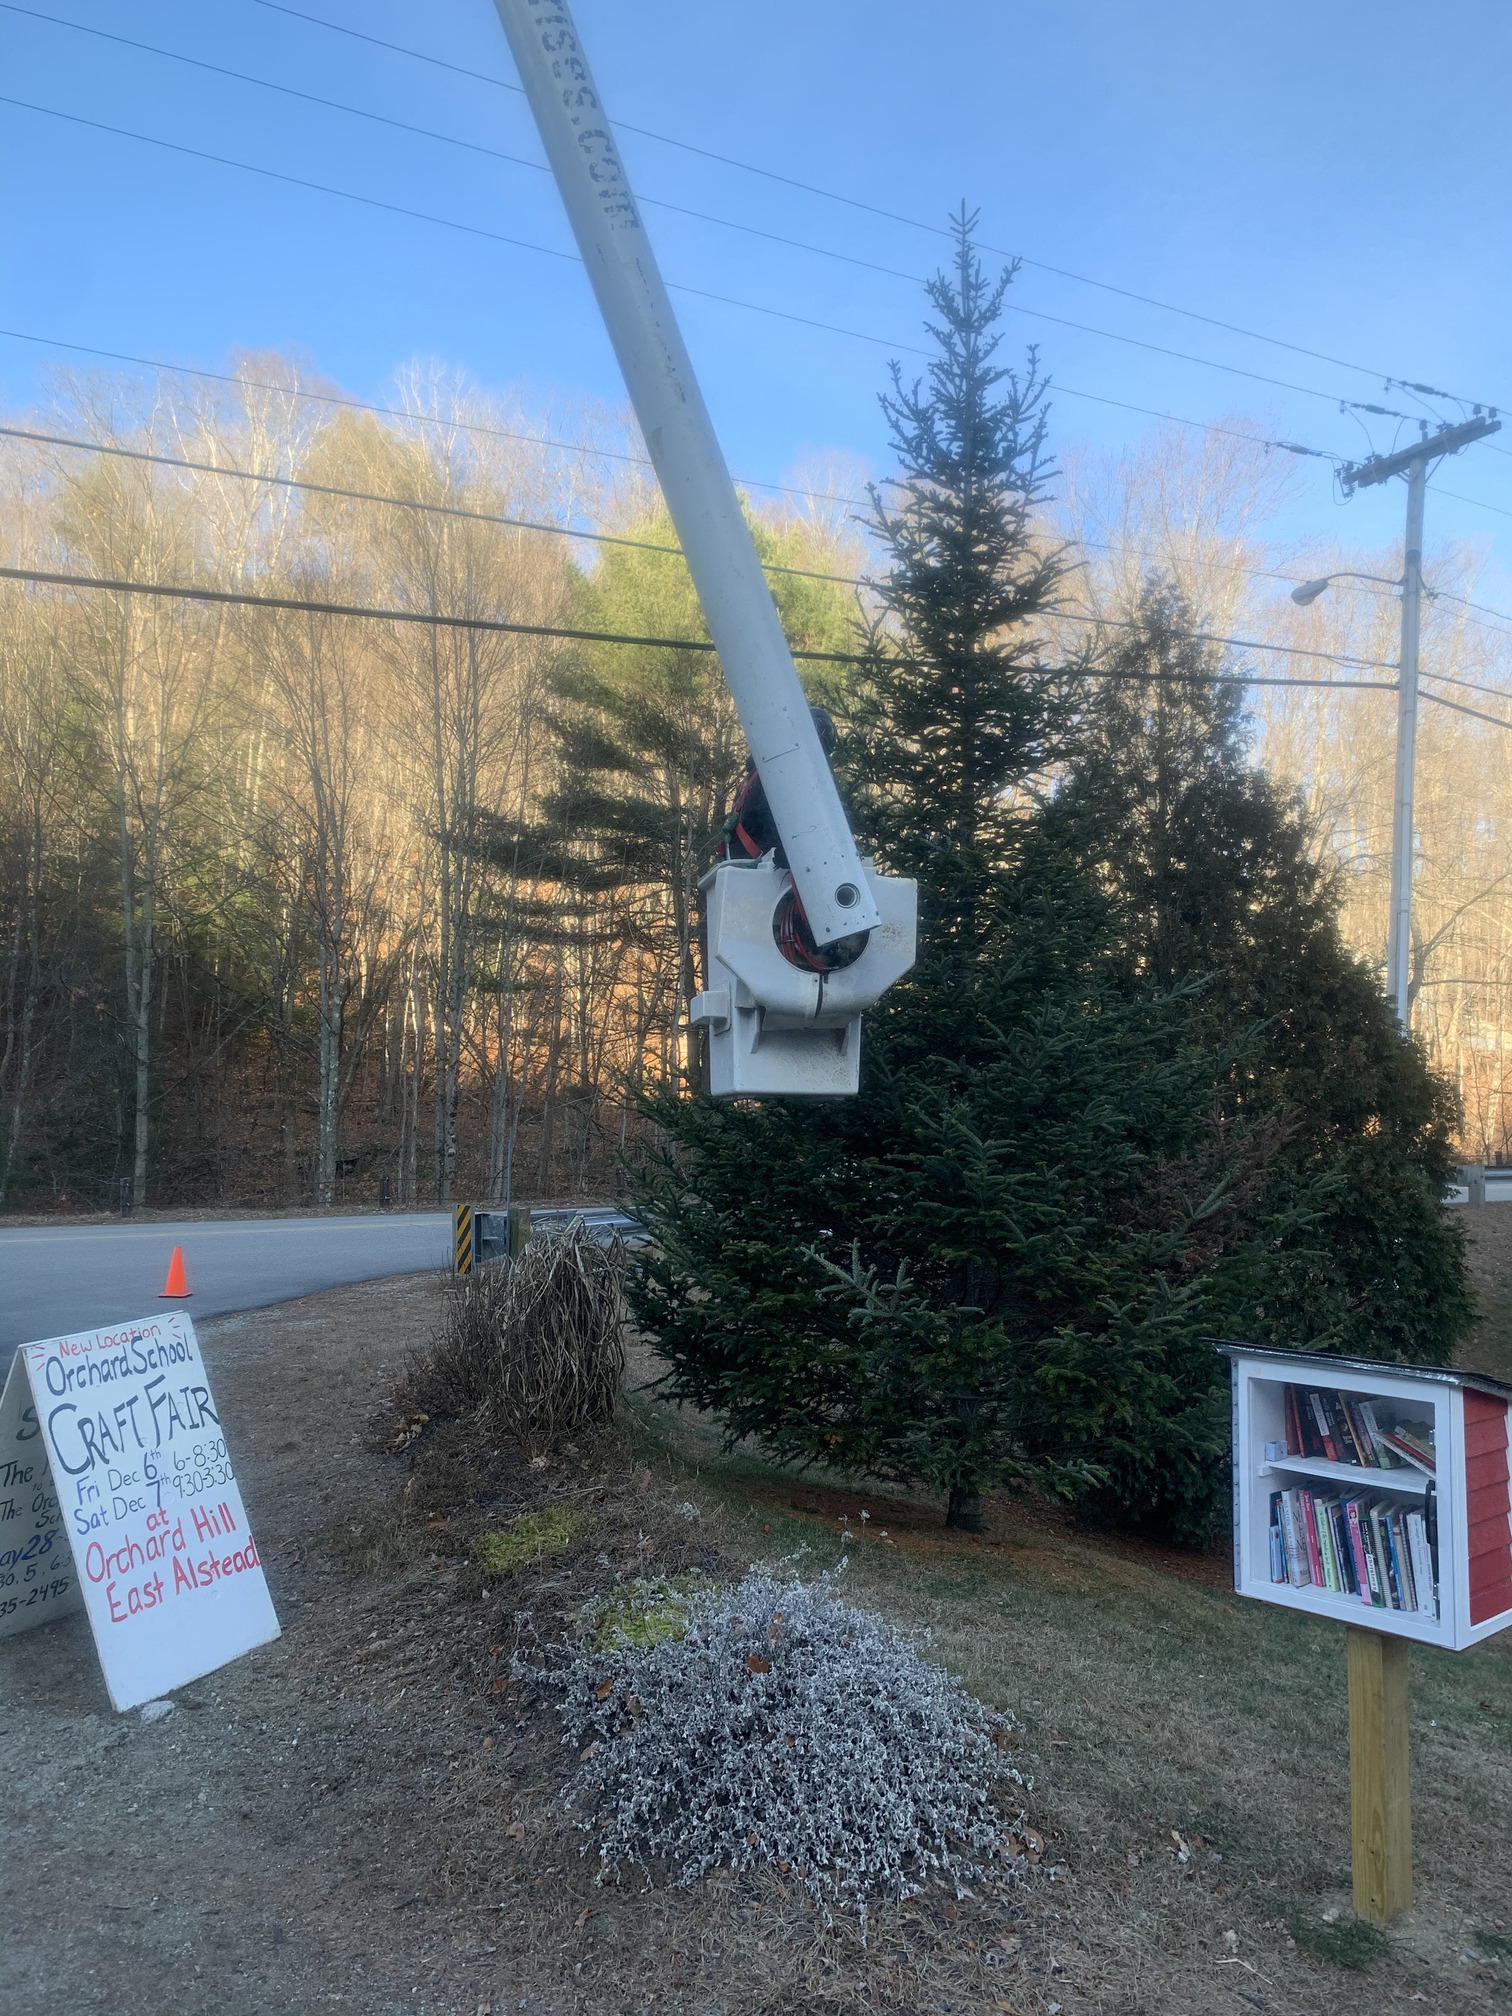
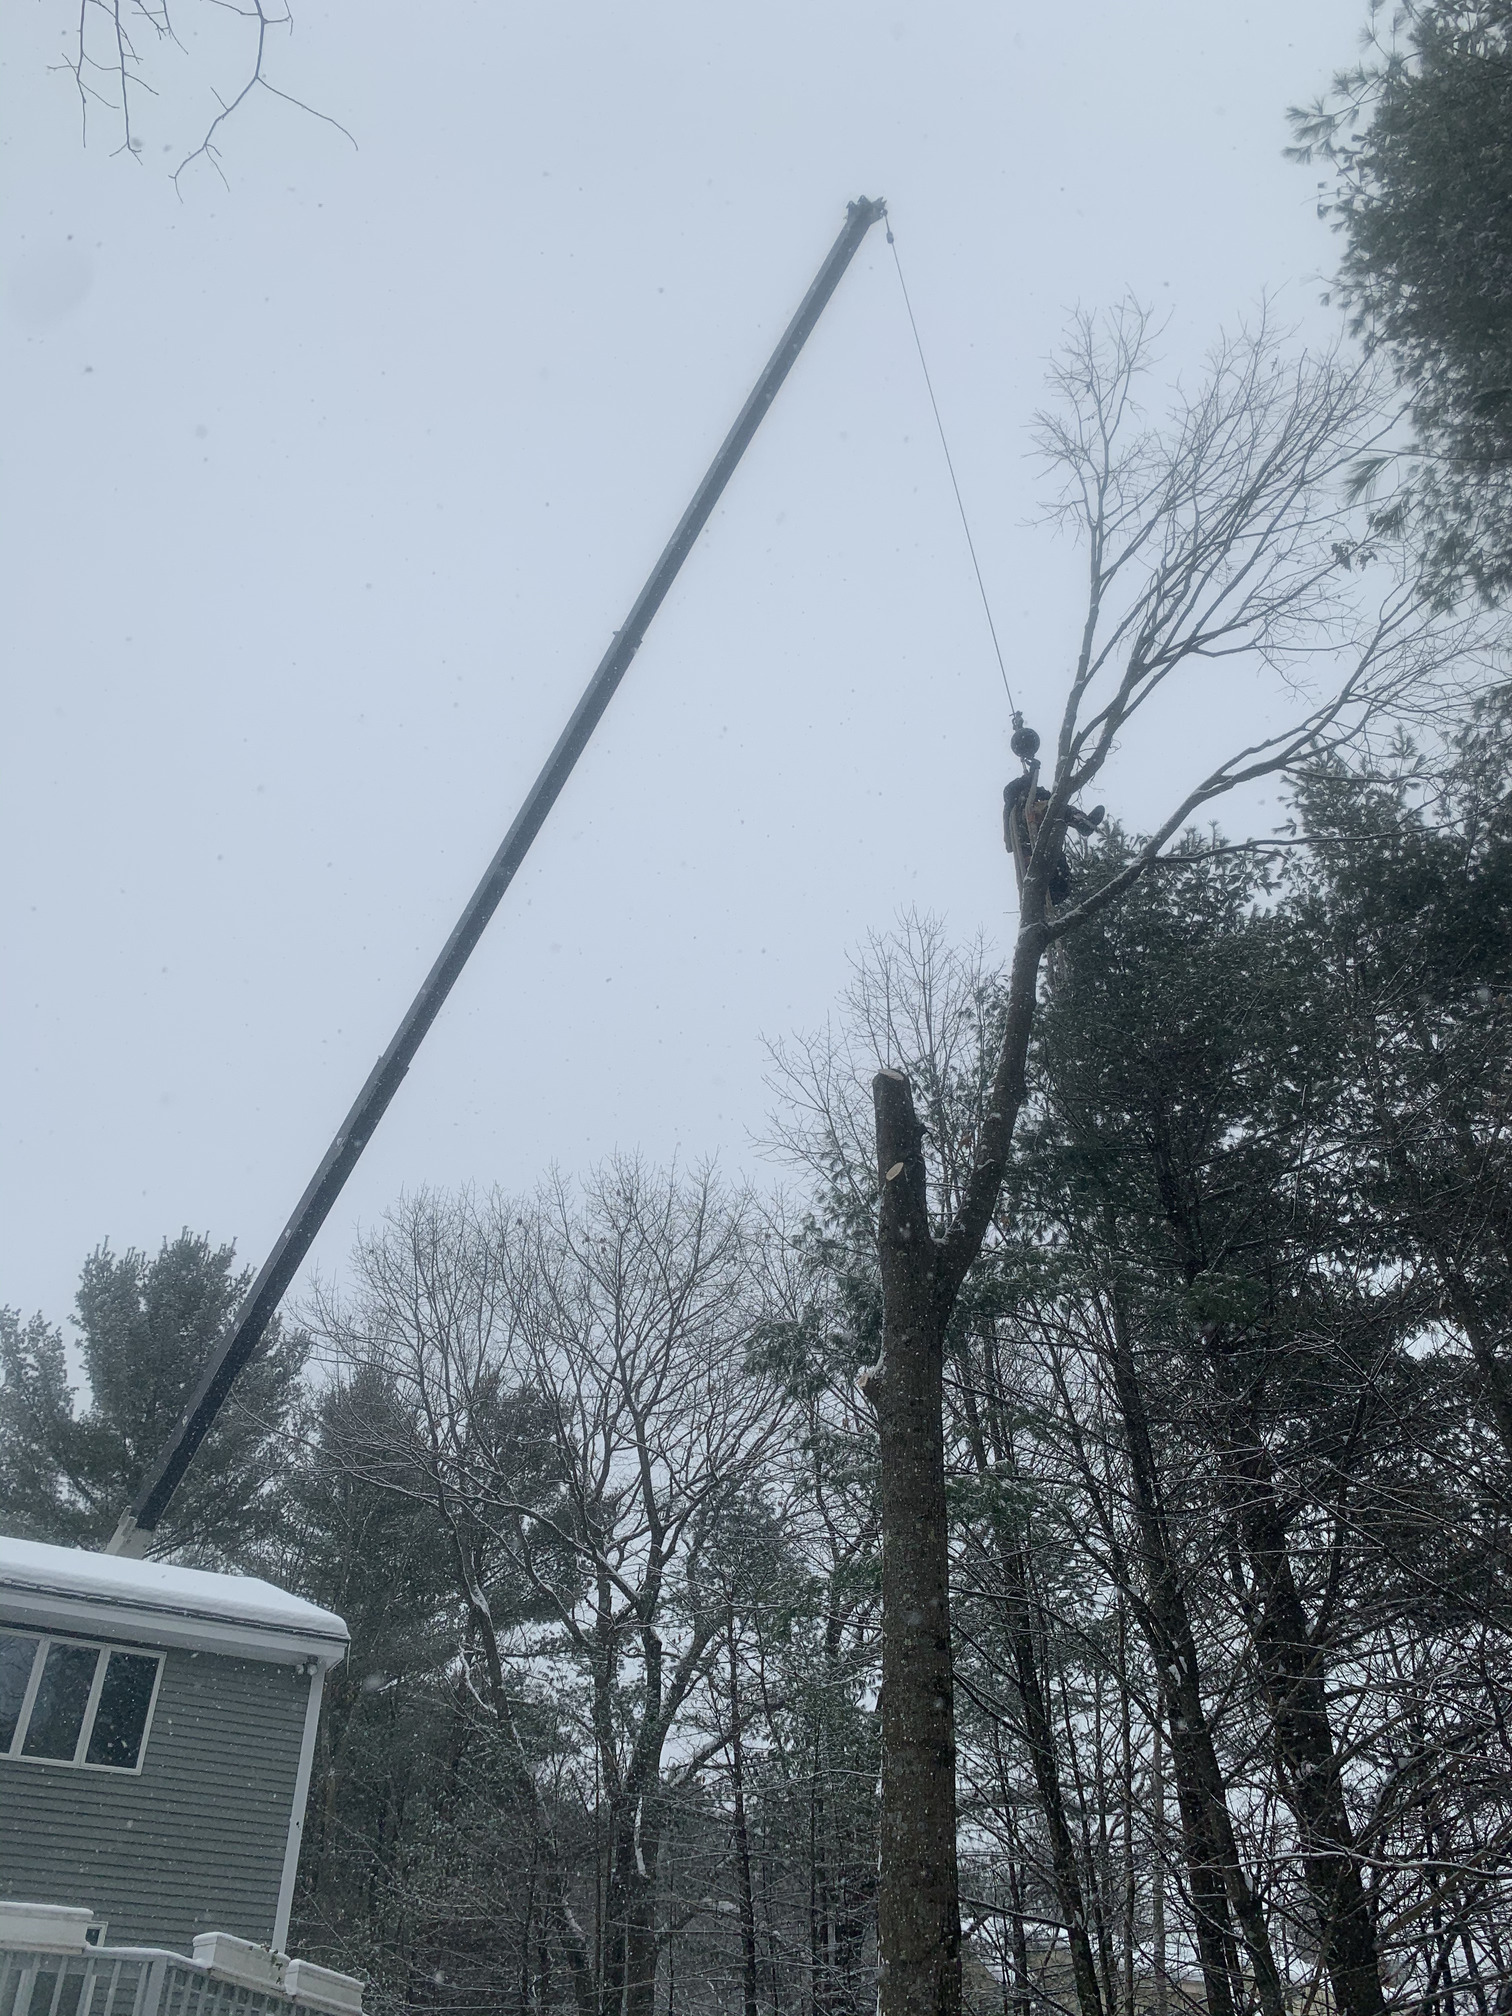
How close to a house can you remove a tree?
Trees can be removed even when very close to a home, but it requires professional equipment and experience. Specialized rigging, bucket trucks, and cranes are often used to remove sections safely without damaging the structure.
Should I worry about trees near my house?
Yes, especially in New Hampshire. Snow load, ice buildup, and saturated soil increase the risk of failure. Trees that are healthy today can become hazardous after severe weather.
How much does it cost to cut down a tree next to a house?
Costs vary based on tree size, location, accessibility, and risk level. Trees close to structures typically cost more due to safety requirements. A professional on-site evaluation is the best way to get an accurate estimate. Contact us at Chris Lane Enterprises to get your quote.